
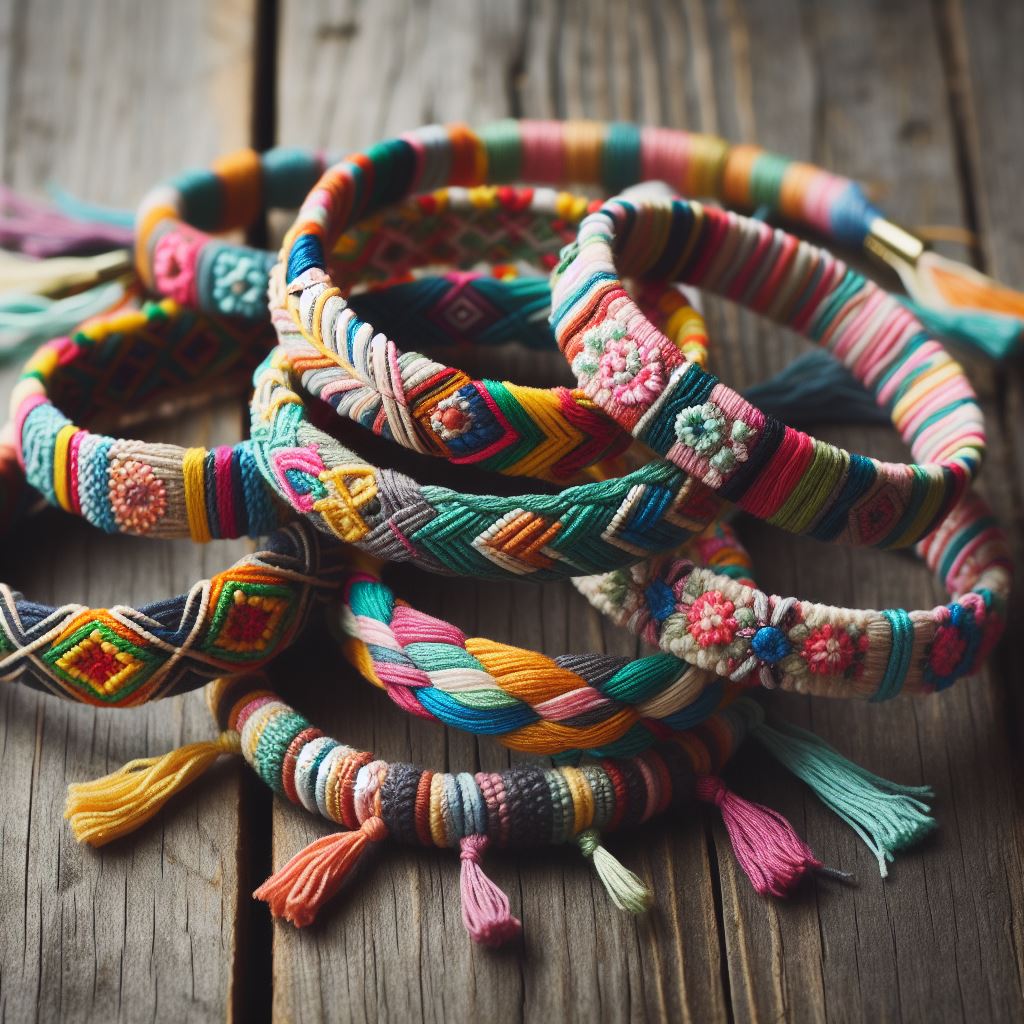
Discover the art of creating vibrant friendship bracelets step by step! Our comprehensive guide covers materials, patterns, and personalized touches. Dive into thread magic today!
Friendship bracelets are more than just colorful accessories; they're a symbol of connection, love, and creativity. Whether you're reminiscing about summer camp or simply want to express your appreciation for a friend, making friendship bracelets is a delightful craft that anyone can enjoy. In this comprehensive guide, we'll explore the art of creating these thread wonders step by step.
Materials Needed
Before we dive into the steps, gather the following materials:
- Embroidery floss: Choose a variety of colors to create vibrant patterns.
- Scissors: Essential for trimming excess thread.
- Tape or pins: These will keep your bracelet in place as you work.
- Embroidery floss: Choose a variety of colors to create vibrant patterns.
- Scissors: Essential for trimming excess thread.
- Tape or pins: These will keep your bracelet in place as you work.
Step 1: Measuring and Cutting
1. Measure a piece of embroidery floss approximately **30 inches** long (about the distance between your fingertips and shoulder).
2. Multiply this length by **5** to ensure you have enough thread for knotting.
2. Multiply this length by **5** to ensure you have enough thread for knotting.
Step 2: Determining the Number of Strands
- Six strands work well for a dainty yet detailed bracelet.
- For thicker bracelets, consider using more strands (up to eight).
- For thicker bracelets, consider using more strands (up to eight).
Step 3: Creating the Candy Stripe Pattern
The candy stripe pattern is a classic and easy-to-master design. Follow these steps:
1. Loop and Tape: Fold your strands in half and tie an overhand knot at the top to form a loop. Tape the loop to a flat surface.
2. Spread Out the Strands: Arrange the strands in a repeated pattern (e.g., light blue, green, light pink, purple).
3. Forward Knots: Start with the left-most strand (light blue). Make a forward knot by placing it over the second strand (green) and pulling it up and under. Repeat for all strands.
4. Continue Knotting: Move to the third strand (green) and repeat the forward knot process. Keep going until the first strand reaches the far right position.
5. Alternate Direction: Begin again with the second (far left) strand and continue knotting.
Remember:
- Pull the thread just until you feel resistance; avoid pulling too tight.
- Consistent tension ensures a neat and sleek bracelet.
- Consistent tension ensures a neat and sleek bracelet.
Step 4: Experiment and Personalize
Feel free to experiment with different colors, patterns, and techniques. Add beads, charms, or even initials to make your friendship bracelet truly unique. With practice, you'll become a friendship bracelet-making pro!
Now, go ahead and weave some thread magic with your DIY friendship bracelets!
Now, go ahead and weave some thread magic with your DIY friendship bracelets!


